Table des matières

NetYpareo authentication: User guide: Manual syncs
Introduction
These operations are not necessary when the tasks are automated through the CRON.
Launching a manual sync
- Go to the manual sync launch menu; Path: Administration/feeding and automation/NetYParéo™ manual synchronisation

- First of all, launch a data cache update. (NetYparéo™ reference data tables to be recorded in Moodle).
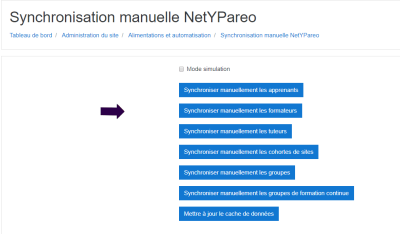
* Choose the manual sync to launch and, if needed, enable simulation mode beforehand with the checkbox.
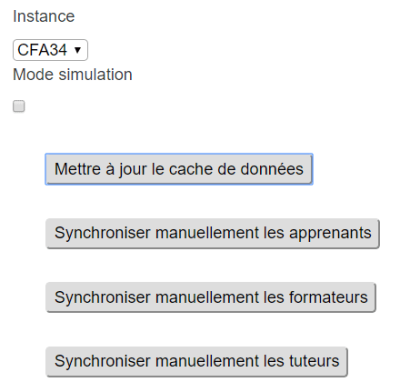
* Note: if you disable some of the synchronisations in the component settings, you will only see the chosen synchronisations in the manual synchronisations interface:
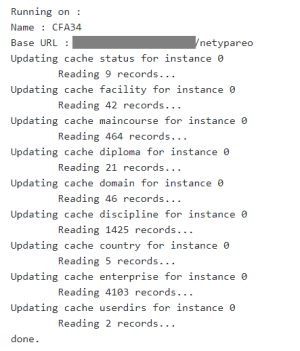
- Example output of a manual tutor synchronisation run
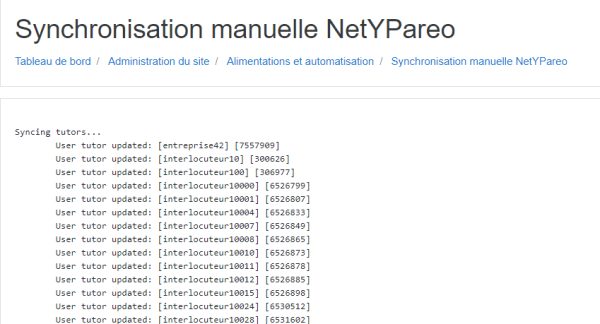
- Interface option: Perform deletions of removed data
This option deletes the data that is no longer in NetYpareo. But if for some reason NetYpareo is no longer accessible, you may prefer not to modify the data retrieved into Moodle. In that case, do not check this option.
Checking a user
Follow the link “Query a Yparéo user identifier” at the top of your page
- NetYpareo user code: Enter identifier
- Is continuing education: Check if the person is in continuing education
- With attendance: The list of sessions in which a user participates (all their FL or FC groups)
Synchronising a single cohort
This is made possible through custom scripting of the standard cohorts offered by the component:
- Go to the site admin/users/cohorts menu
- Click the cohort refresh icon (icon with the 2 arrows)

Credits
- Valéry Frémaux (valery@activeprolearn.com) Development
- Florence Labord (florence@activeprolearn.com) Documentation
Back to the component index - Back to plugins index - Back to catalogue